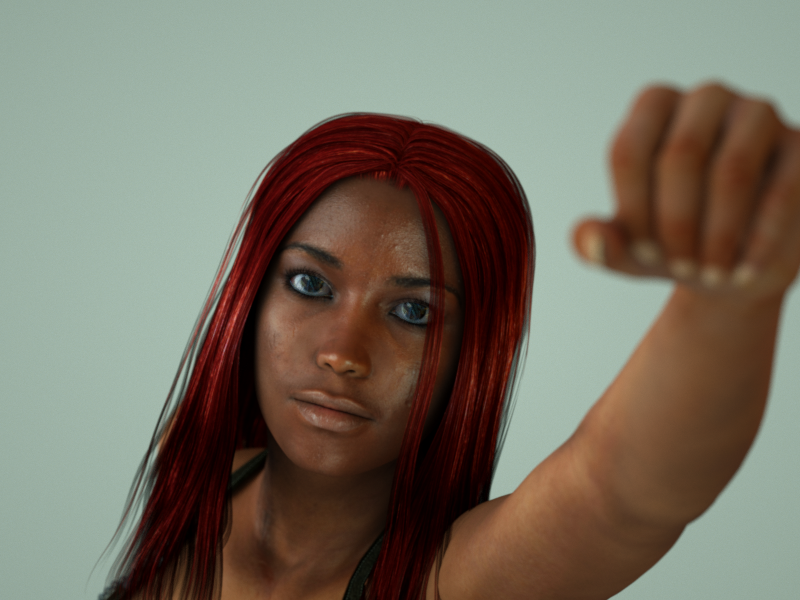
Hair renders with octane
Moderator: face_off
Forum rules
Please keep character renders sensibly modest, please do not post sexually explicit scenes of characters.
Please keep character renders sensibly modest, please do not post sexually explicit scenes of characters.

Hair should generally convert automatically to a glossy material - however if the Poser Material for the hair is setup with only a very small amount of specular, then the plugin will convert it to diffuse. In the second case - switch the node type of the hair material from "diffuse" to "glossy", the tweak the settings. Remember to rightclick and save you hair material for use on other hair materials.
Win7/Win10/Mavericks/Mint 17 - GTX550Ti/GT640M
Octane Plugin Support : Poser, ArchiCAD, Revit, Inventor, AutoCAD, Rhino, Modo, Nuke
Pls read before submitting a support question
Octane Plugin Support : Poser, ArchiCAD, Revit, Inventor, AutoCAD, Rhino, Modo, Nuke
Pls read before submitting a support question

Yes am starting to get the hang of hair now, starting to look a lot more shiny and realistic well better than I first started out with anyway.
Thank you for taking the time Paul to give me some guidance it is much appreciated as I know you're very busy man
Thank you for taking the time Paul to give me some guidance it is much appreciated as I know you're very busy man
W7 64 bit |I7-3970X | GTX 780 X2(6GB) GTX 780TI X2 | 64 GB DDR3 RAM
Real Skin & real hair for Poser / DAZ Studio OctaneRender/iray - coming soon
Real Skin & real hair for Poser / DAZ Studio OctaneRender/iray - coming soon
Today I was doing some tests with hair and ran into a problem.
In my scene I have a V4 with the "Yoanna" hair conformed to.
A random background prop behind the figure.
The attached picture of two quick PMC renderings will show my dilemma.
In the upper picture, the light comes from the environment and from an emitting one sided square together.
There the "thing" on the forehead is already visible.
In the lower picture, I tuned off the environment light and increased the light from the emitting square significantly.
The result is ... heh .. even more noticeable.
That "shadow" thing is exactly, where the cap of the hair goes along.
I used the trans.map of the hair, plugged it into the opacity node with the power of 1 and gamma at 1.
(Same goes for the eye lashes as well)
Can anyone please tell me, why there's still this shadow across the forehead?
- Attachments
-
Hi Erick
You've also got a problem with her lashes on the bottom shot.
I'd need to see you settings and the scene, but at a guess, perhaps the hair cap is sharing the same vertices as her forehead? This will impact Octane's ability to render transparencies. The give-aways that this might be the issue is her eyelens material has blackened out her eyes.
The easy fix is to drop the rayepsilon in the render settings, however the Poser default is 0.00001, which is about as low as you can go. Regardless, double check your rayepsilon and see if increasing/decreasing it helps/hinders.
Also, specular materials, the light transmitting through the "glass" can be given a different priority to the direct light - this is a setting in the PMC kernel.
So in summary, I think this is resolved through the kernel settings, but I'd need to see you exact settings and materials to provide any more info.
[EDIT] If could also be your emitter settings. Is it a single poly emitter? Which prop did you use for the emitter? How you looked at Wim's post in these forums regarding setting up emitters?
Paul
Win7/Win10/Mavericks/Mint 17 - GTX550Ti/GT640M
Octane Plugin Support : Poser, ArchiCAD, Revit, Inventor, AutoCAD, Rhino, Modo, Nuke
Pls read before submitting a support question
Octane Plugin Support : Poser, ArchiCAD, Revit, Inventor, AutoCAD, Rhino, Modo, Nuke
Pls read before submitting a support question
Hi Erick - try converting the transmapped parts (like the eyelashes and skullcap) to "glossy" rather than "diffuse".
Win7/Win10/Mavericks/Mint 17 - GTX550Ti/GT640M
Octane Plugin Support : Poser, ArchiCAD, Revit, Inventor, AutoCAD, Rhino, Modo, Nuke
Pls read before submitting a support question
Octane Plugin Support : Poser, ArchiCAD, Revit, Inventor, AutoCAD, Rhino, Modo, Nuke
Pls read before submitting a support question
Does that mean it fixed the problem Erick?That's basically it.
Win7/Win10/Mavericks/Mint 17 - GTX550Ti/GT640M
Octane Plugin Support : Poser, ArchiCAD, Revit, Inventor, AutoCAD, Rhino, Modo, Nuke
Pls read before submitting a support question
Octane Plugin Support : Poser, ArchiCAD, Revit, Inventor, AutoCAD, Rhino, Modo, Nuke
Pls read before submitting a support question
Certainly not my best choice of words, I admit *g*
With this I meant, that's basically what's in the scene. With the hair and emitting square node-settings opened.
Sorry for the confusion!
Unfortunately the problem still is the same. The transparency part still doesn't render properly.
I tried it with different hair figures, by different vendors, and all of them, which are having this kind of a cap, the outcome looks like in the above attached pictures.
I must be doing something completely wrong here LOL :C
-
larsmidnatt


- Posts: 499
- Joined: Tue Sep 25, 2012 12:28 pm
In that case I think the normals may be overlapping. I've had the problem before, if you can offset the cap a tad so that it's just 1 mm outside of her head it may fix it.
I've seen this happen to clothes too.
Basically the outside of the cap is occupying the same space as the outside of her head, they can't share space.
But I could be wrong about your problem, but it really seems similar.
I've seen this happen to clothes too.
Basically the outside of the cap is occupying the same space as the outside of her head, they can't share space.
But I could be wrong about your problem, but it really seems similar.
Win10 x64
i9 10900k 64GB
2080S 8GB
DS 4.15 OcDS Prime ^_^
i9 10900k 64GB
2080S 8GB
DS 4.15 OcDS Prime ^_^
Overlapping vertices indeed was the culprit!
As by Paul and now by larsmidnatt mentioned, it was because vertices of head and cap were sharing the same space.
As a test, I pushed a few vertices of the cap back into the head of the V4 figure, with the morphing tool, and rendered it.
And indeed ... In the areas, where I pushed back the verts, the render went well, whereas the areas, which it didn't touch, the outcome was as in the previous renders.
Thanks for the help!
I still need to look at the eyelashes, but that's later =)