A lot of information on this topic is scattered all around the forum this is a try to combine some of it.
Combining Bump / Normal and Displacement maps in OctaneRender
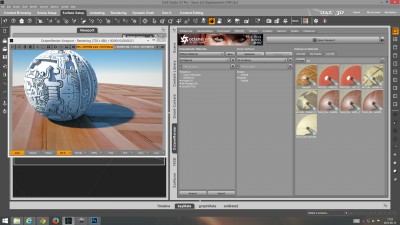
In the early OctaneRender 2.x versions it was not recommended to actually mix Bump / Normal with Displacement maps.
Nevertheless developer aoktar found a workaround that was shared a while ago by bepeg4d:
Displacement + bump trick
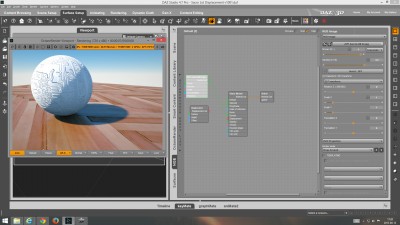
A material with a bump map is plugged into both slots of a mix material node.
Then the displacement node is plugged into the mix material node as well.
viewtopic.php?f=87&t=48024
- - -
Differences of bump, normal and displacement map
Some users may still struggle with this.
Bump and normal maps do not actually alter the geometry. As a result the bump and normal elements of a surface cast not physically correct shadows.

- Normal Map Version - Not physically correct shadows
You can actually observe shadows on the side of ledges that are facing the sun.
Displacement maps do alter the geometry. The displaced surfaces are casting physically correct shadows.

- Displacement map version - Shadows are calculated in a physically correct way.
Calculating displacement does use more system resources than bump or normal maps.
IF your goal is to create photo realistic images you should not AT ALL use bump or normal maps on objects that are visible in the foreground.
- Use displacement maps or HD morphs
In the past: Mixing bump / normal with displacement maps in the early days of computer graphics
In the early days of computer graphics system resources were much more limited than now.
Calculating displacement was considered a huge effort. The same limitations may still apply today when creating game models.
If the benefit of displacement in a specific area was only considered minimal bump / normal maps were used. As a result some studios started to actually mix bump / normal with displacement maps on the same surface.
Some artists at DAZ3D picked up on that technique and unfortunately did not stop using it even now when there are enough system resources available on most users systems.
Now: Displacement maps for foreground objects - Bump / Normal for background
If a so called "hero object" is in the foreground it makes sense to use displacement maps for all surfaces and all the tiny details.
Allready at 1920x1080 and especially at 3840x2160 resolutions and up you can spot very well if shadows are calculated properly or not.
If an object is in the background nevertheless there is still not much point on using displacement. Then it makes sense to use bump / normal on all surfaces.
IF artists would actually create their characters in Zbrush it would be no effort at all to provide the customers with two different complete sets of maps:
- one displacement map set for close up shots
- one bump / normal map set when the character is used in the background.
- - -
Using bump maps with a displacement node
Some bump maps can be used in the displacement slot.

- bump map used as displacement map can work.
There are different systems of calculating bump and displacement maps.
- Mid level gray as 0 point. gray to black will cause negative displacement inwards, gray to white will cause positive displacement outwards.
I noticed that a lot of those "grayscale" bump maps provided with DAZ3D characters seem to just be painted / edited in photoshop and therefore will not yield an accurate displacement. In addition those maps tend to give a balloon effect in which the whole figure geometry is enlarged if there is not a proper offset used.
Rule of Thumb:
The offset value should be half of the height value as a negative number.
Example:
Height: 0.00004
Offset: -0.00002
Side Note:
OcDS uses different units as OR standalone.
You cannot simply copy and paste displacement values between the two versions.
Make sure to check if the units are meter (m) or centimeter (cm).
- Maps with black = no displacement and white = full displacement
Those maps work best in OctaneRender / OcDS from my experience.
- - -
update / edit:
removed parts to stay on topic.