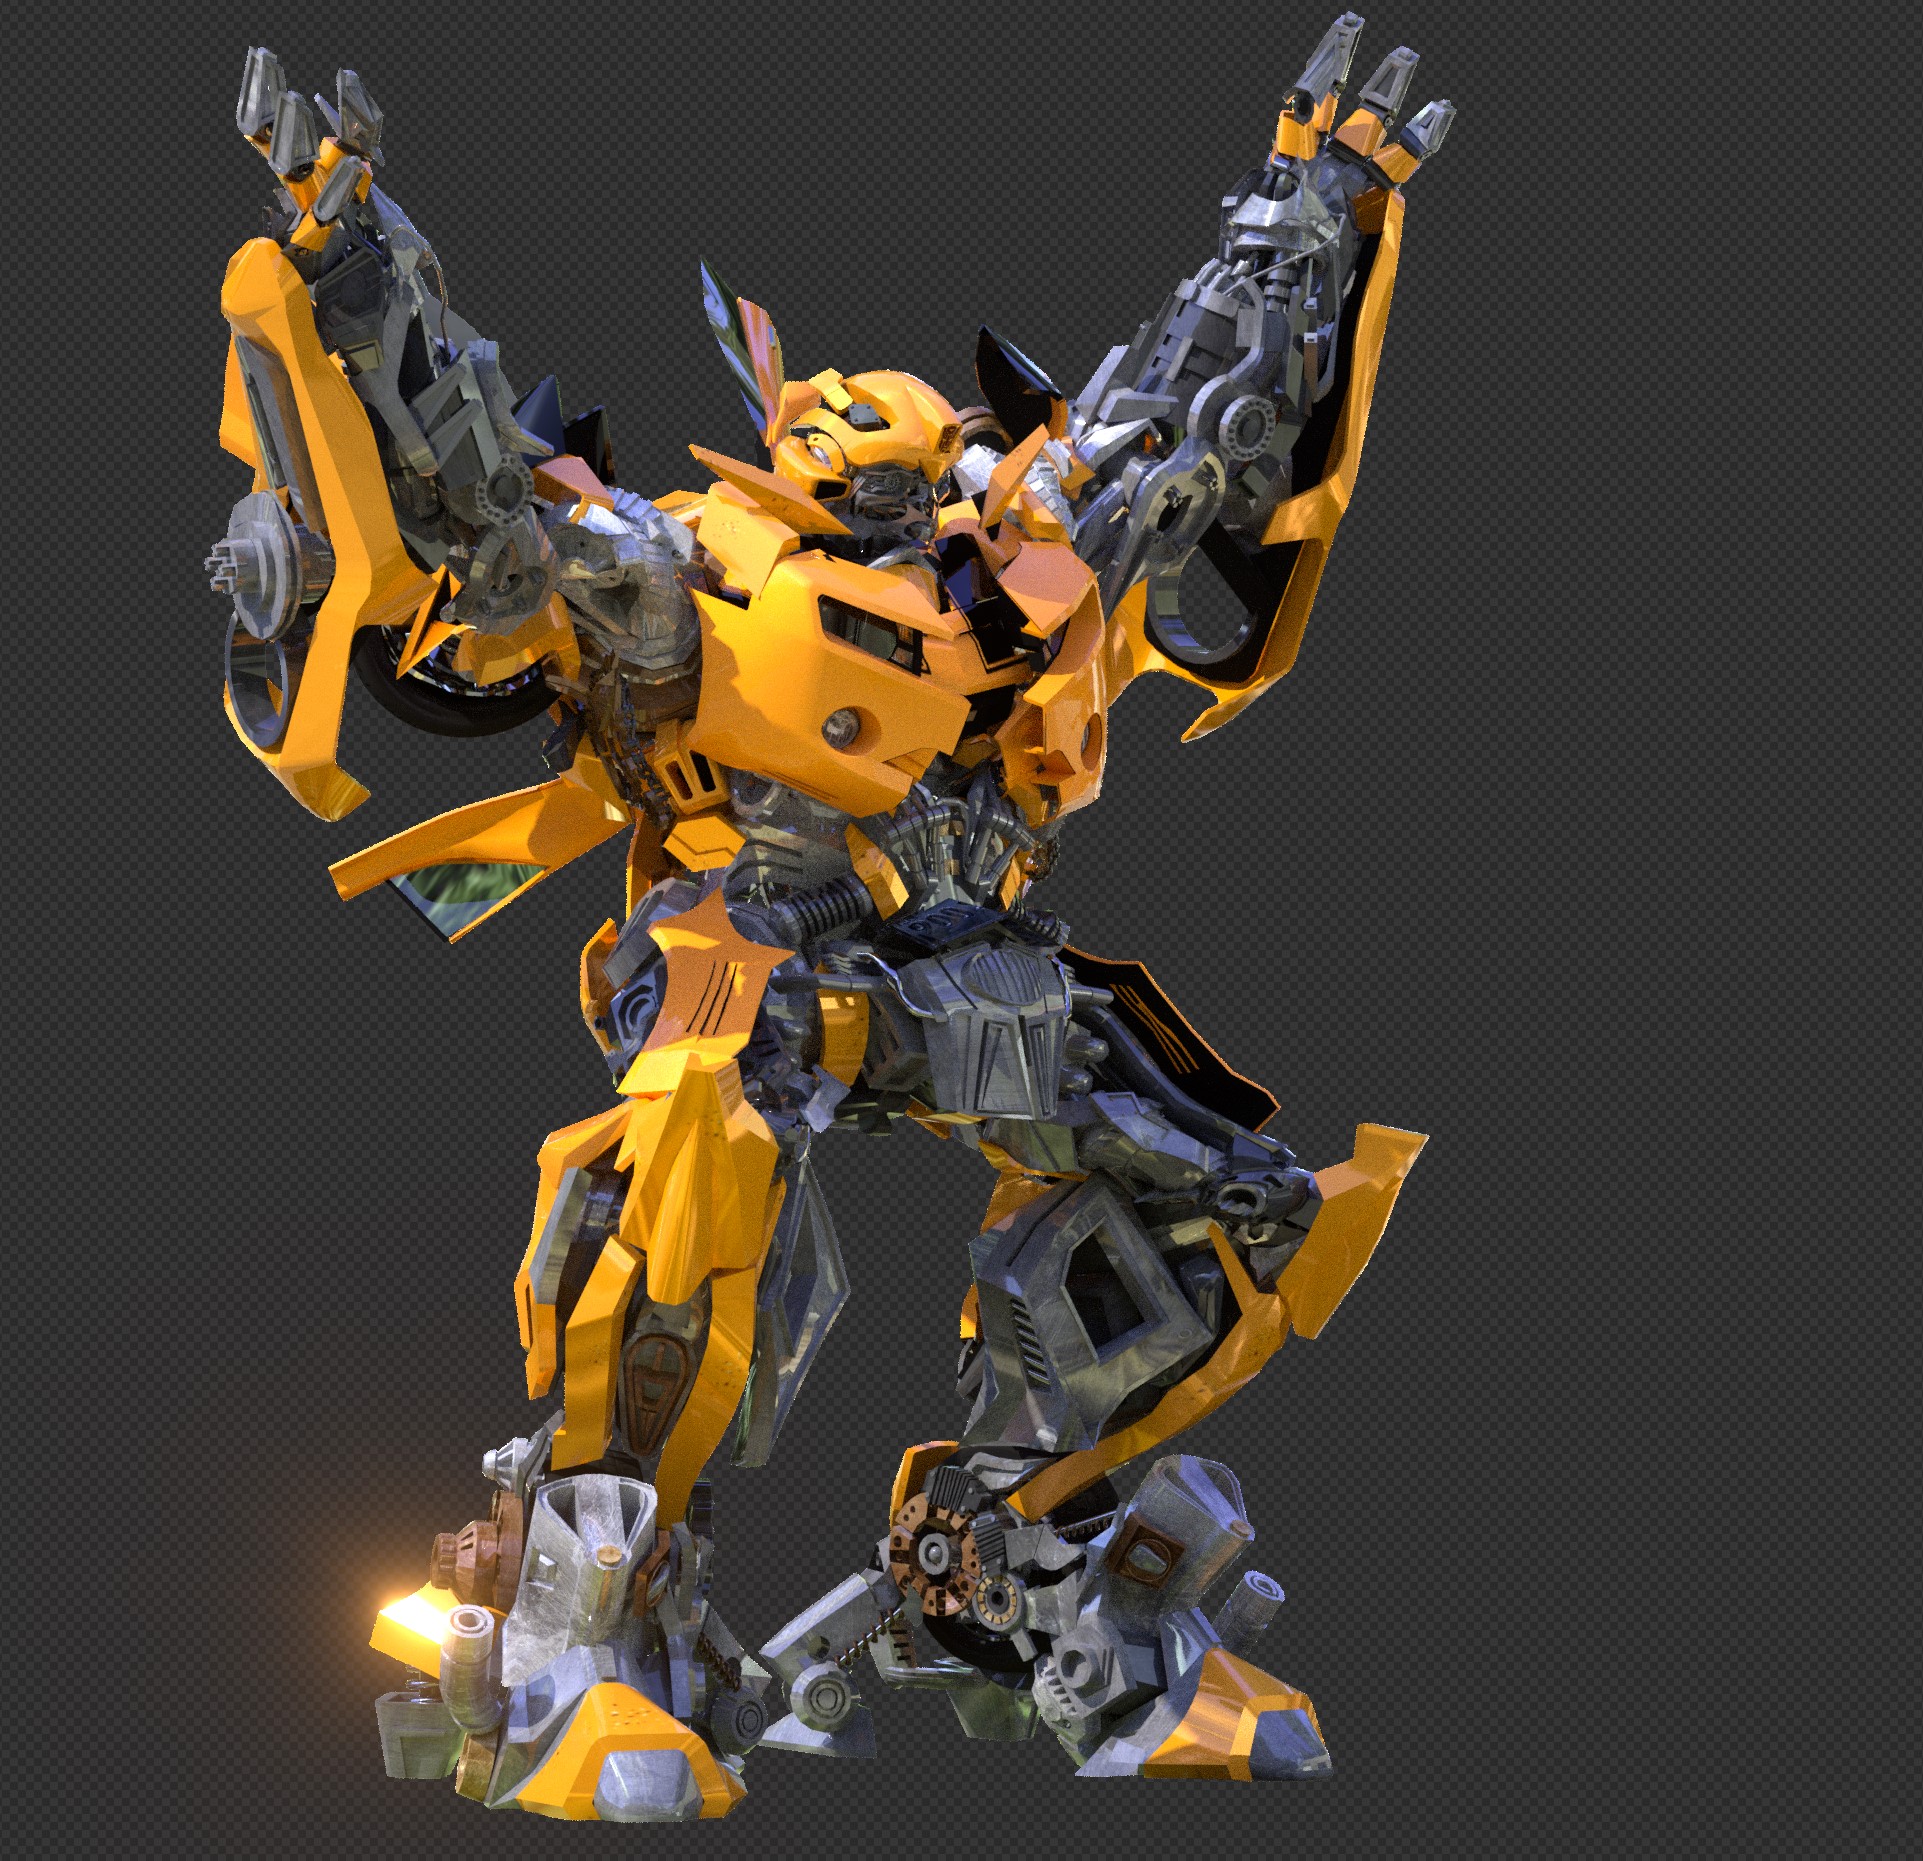
If I render the robot as alpha channel and bring into After Effects as straight/unmatted, I get a nice clean matte, but glare will only show up on the robot and you won't see any glow, bloom, or glare against the background.
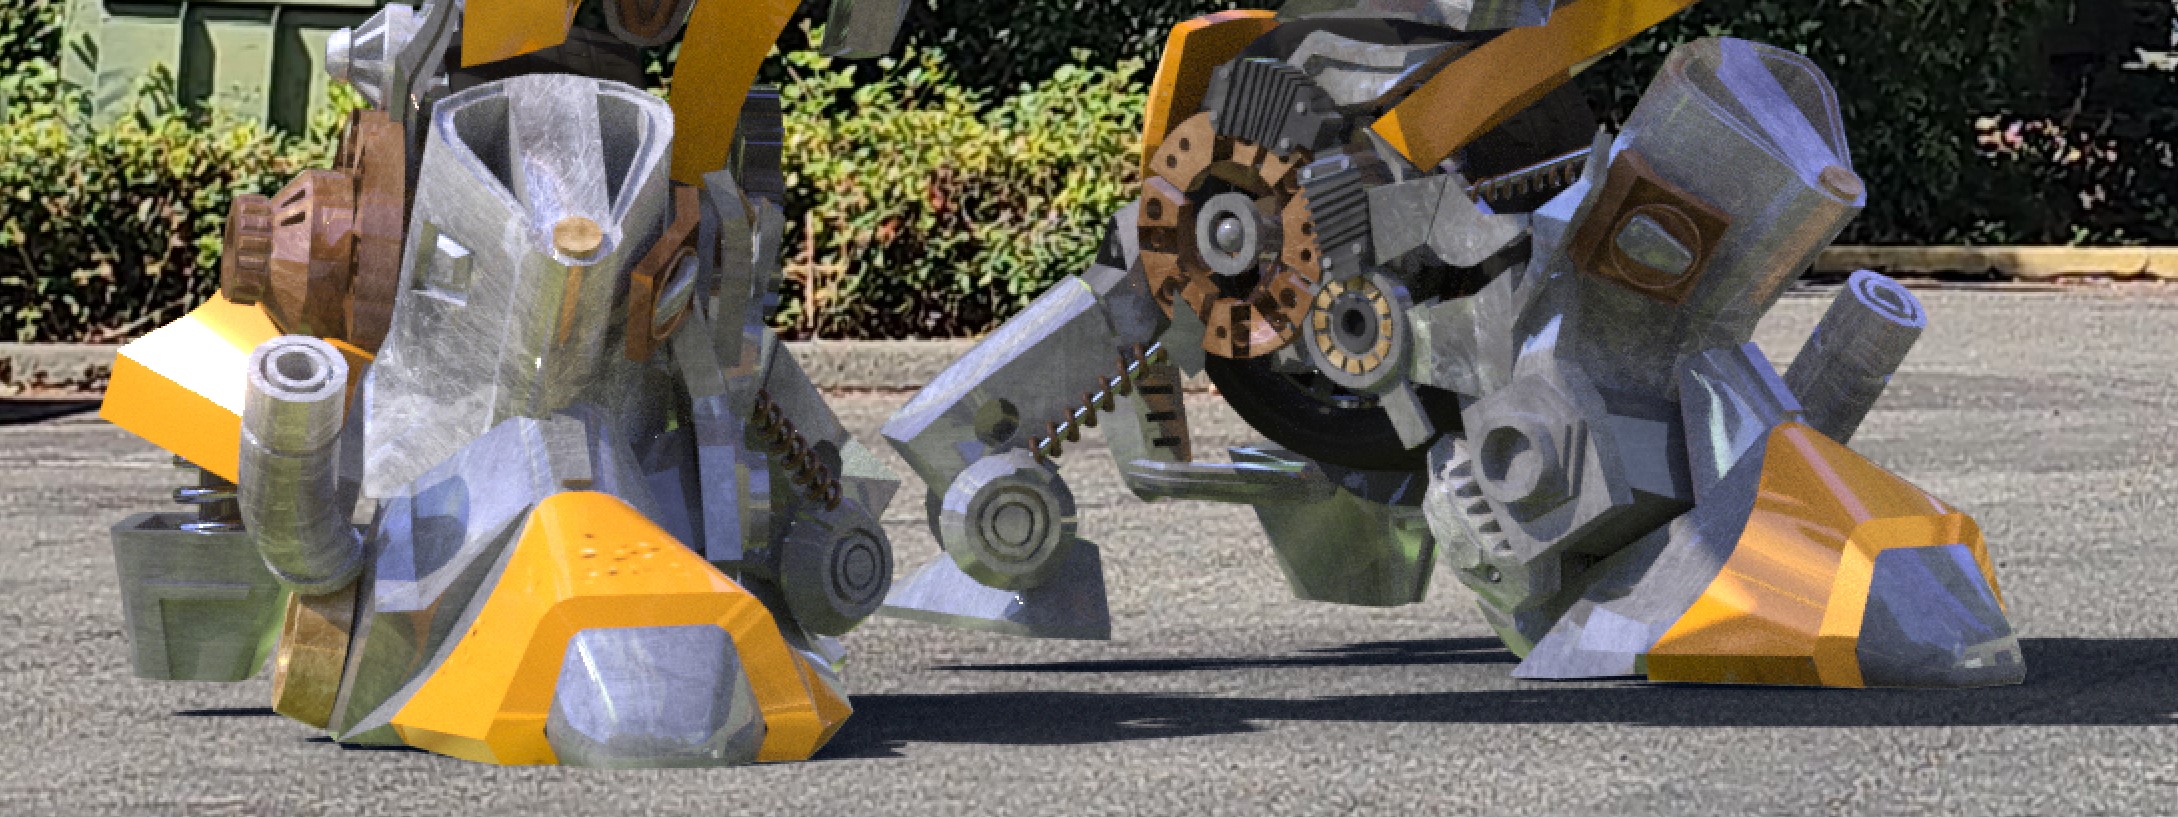
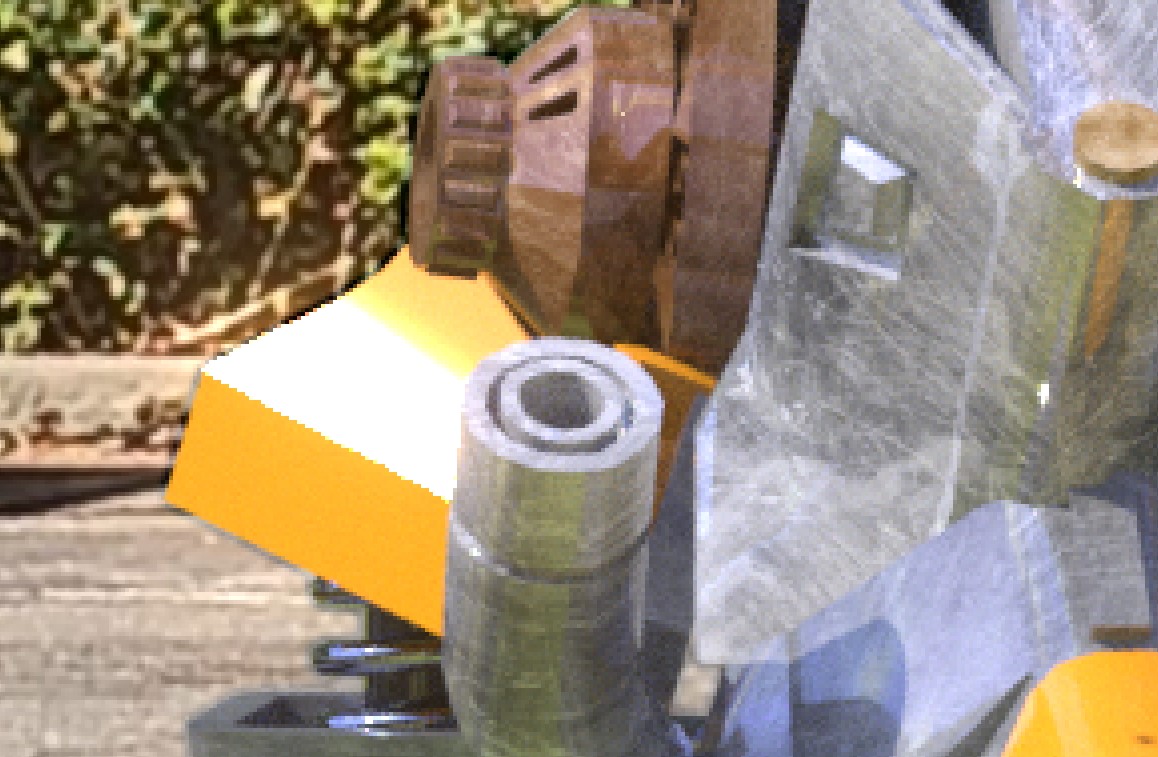
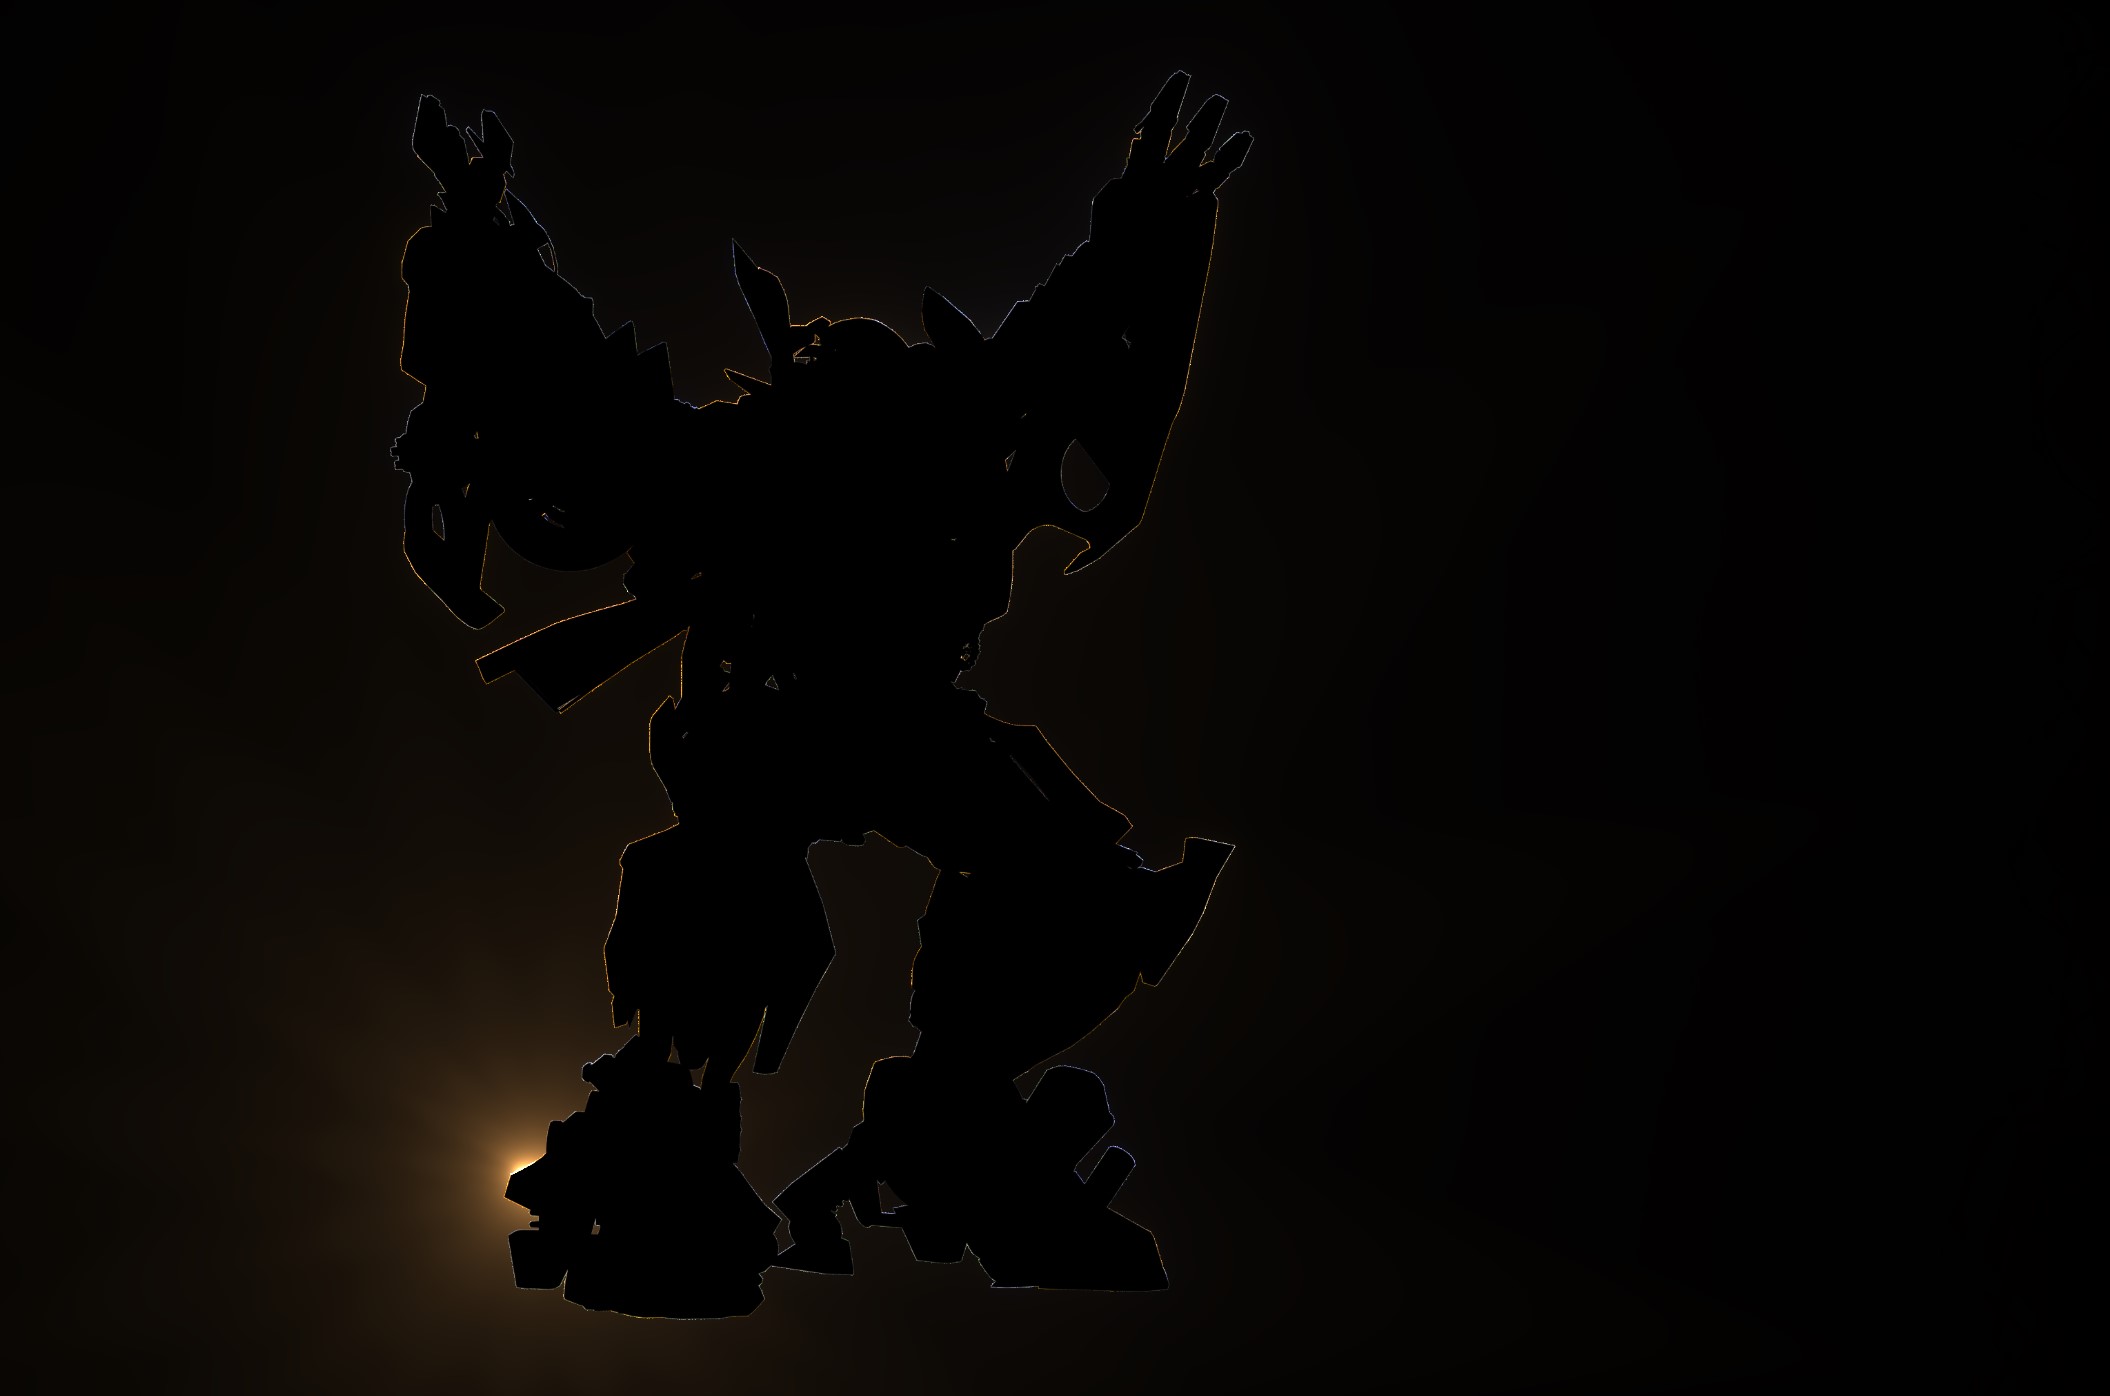
However, if I bring in a second layer of the robot as straight/unmatted, invert the alpha channel, change the blending mode for the layer to "add", then I'll get a bit of glare spilling into the background as I would want (note the glare spilling towards the back off the metal off the foot to the left). However, I also get a white/yellowish outline around the robot.
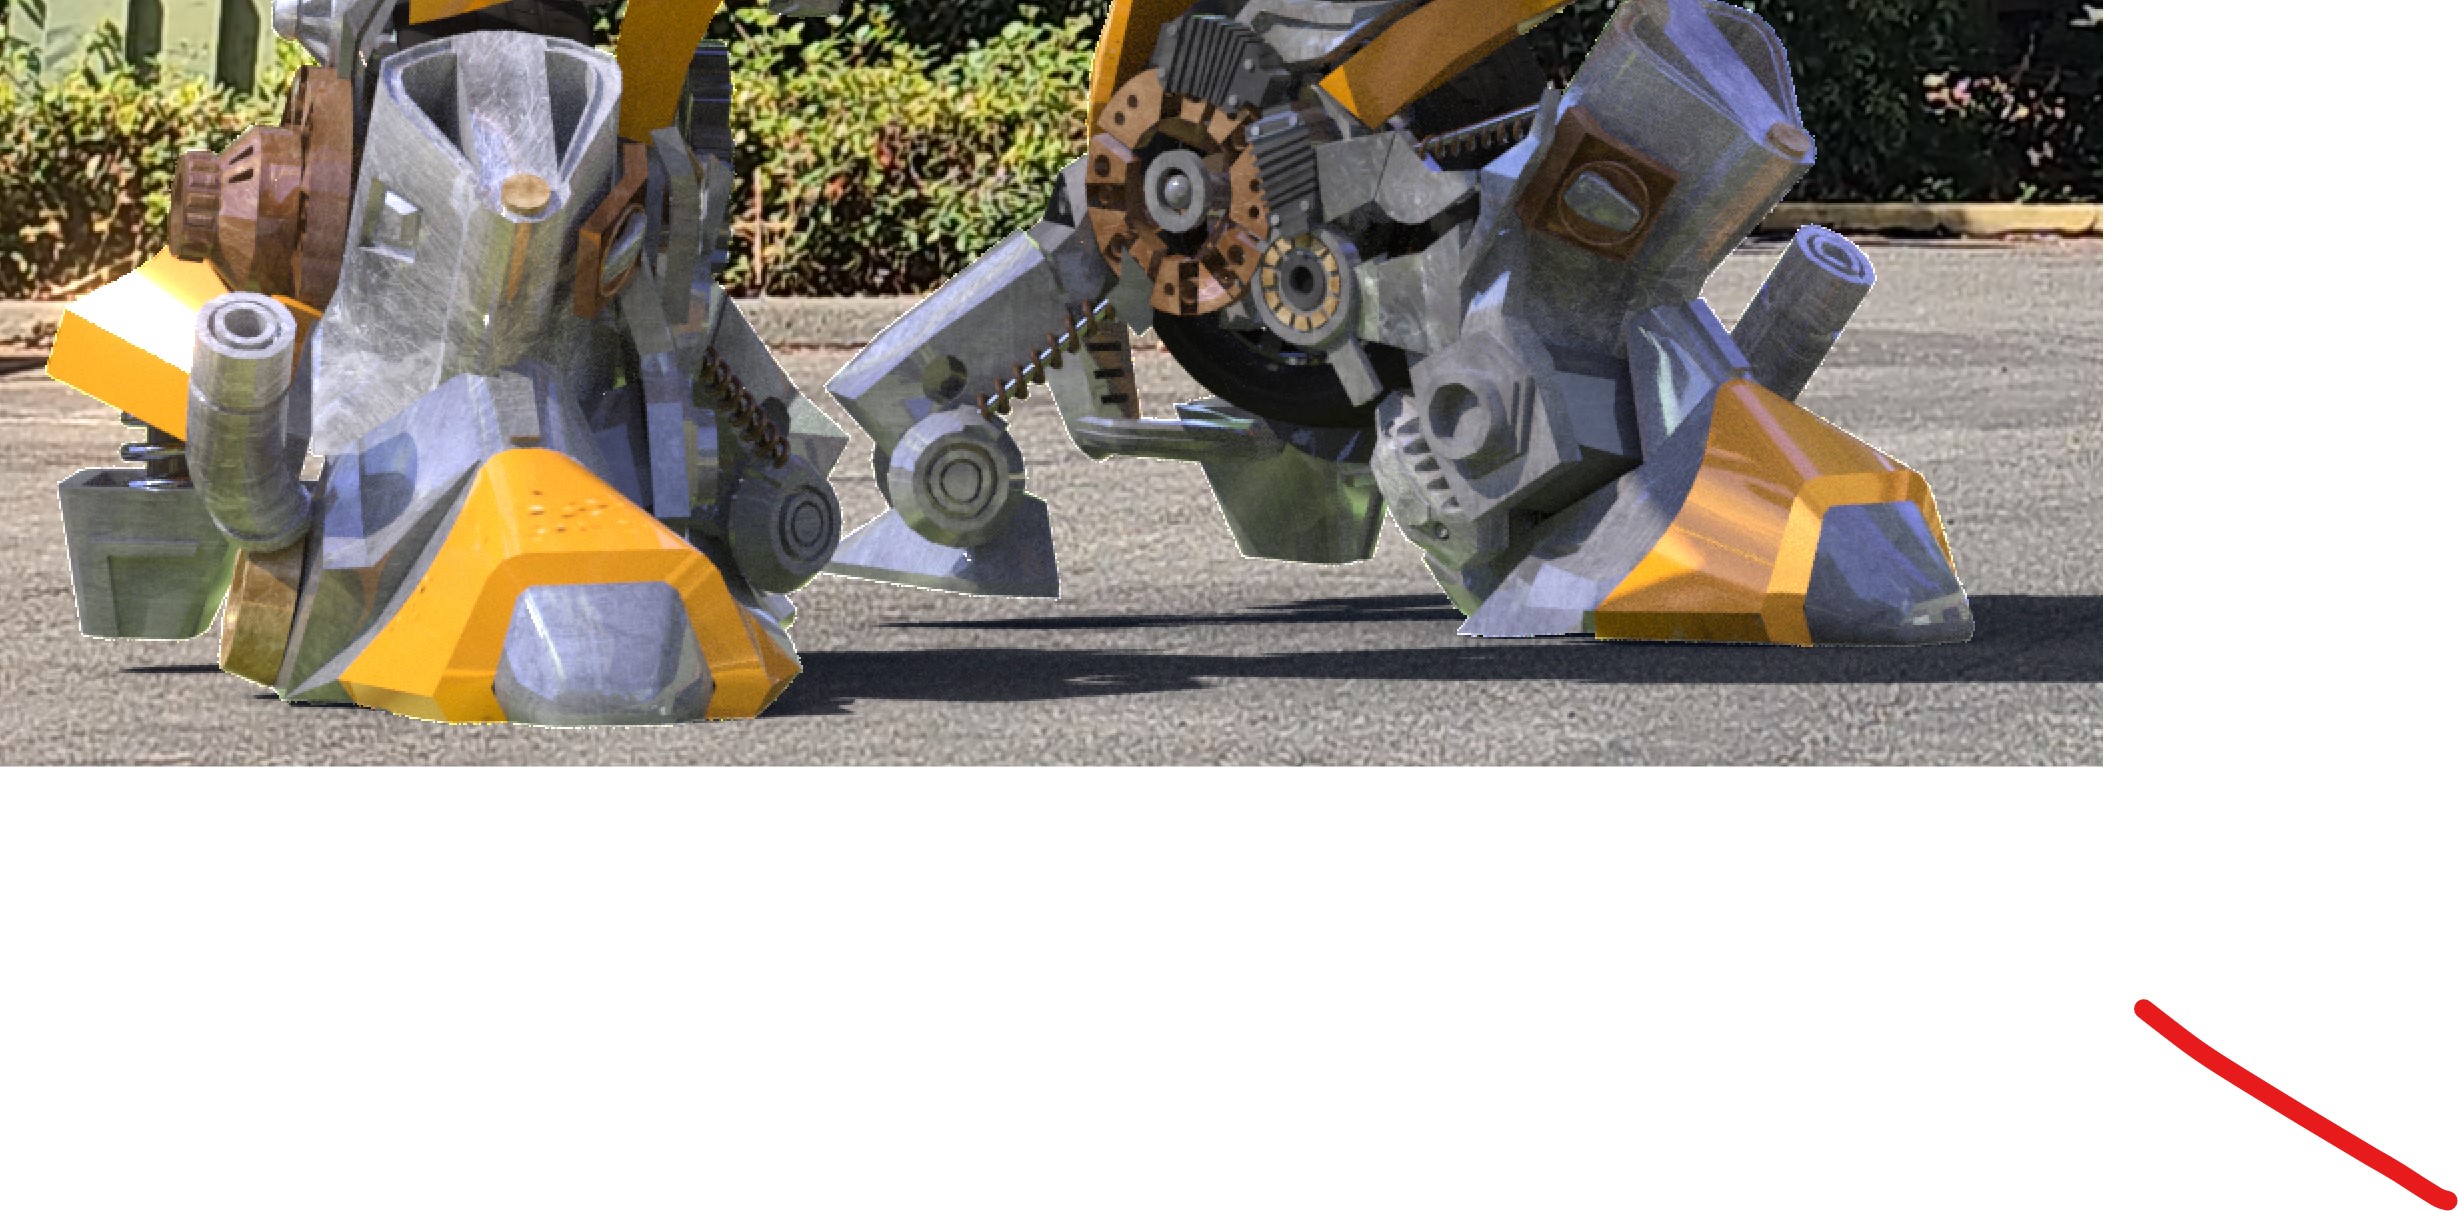
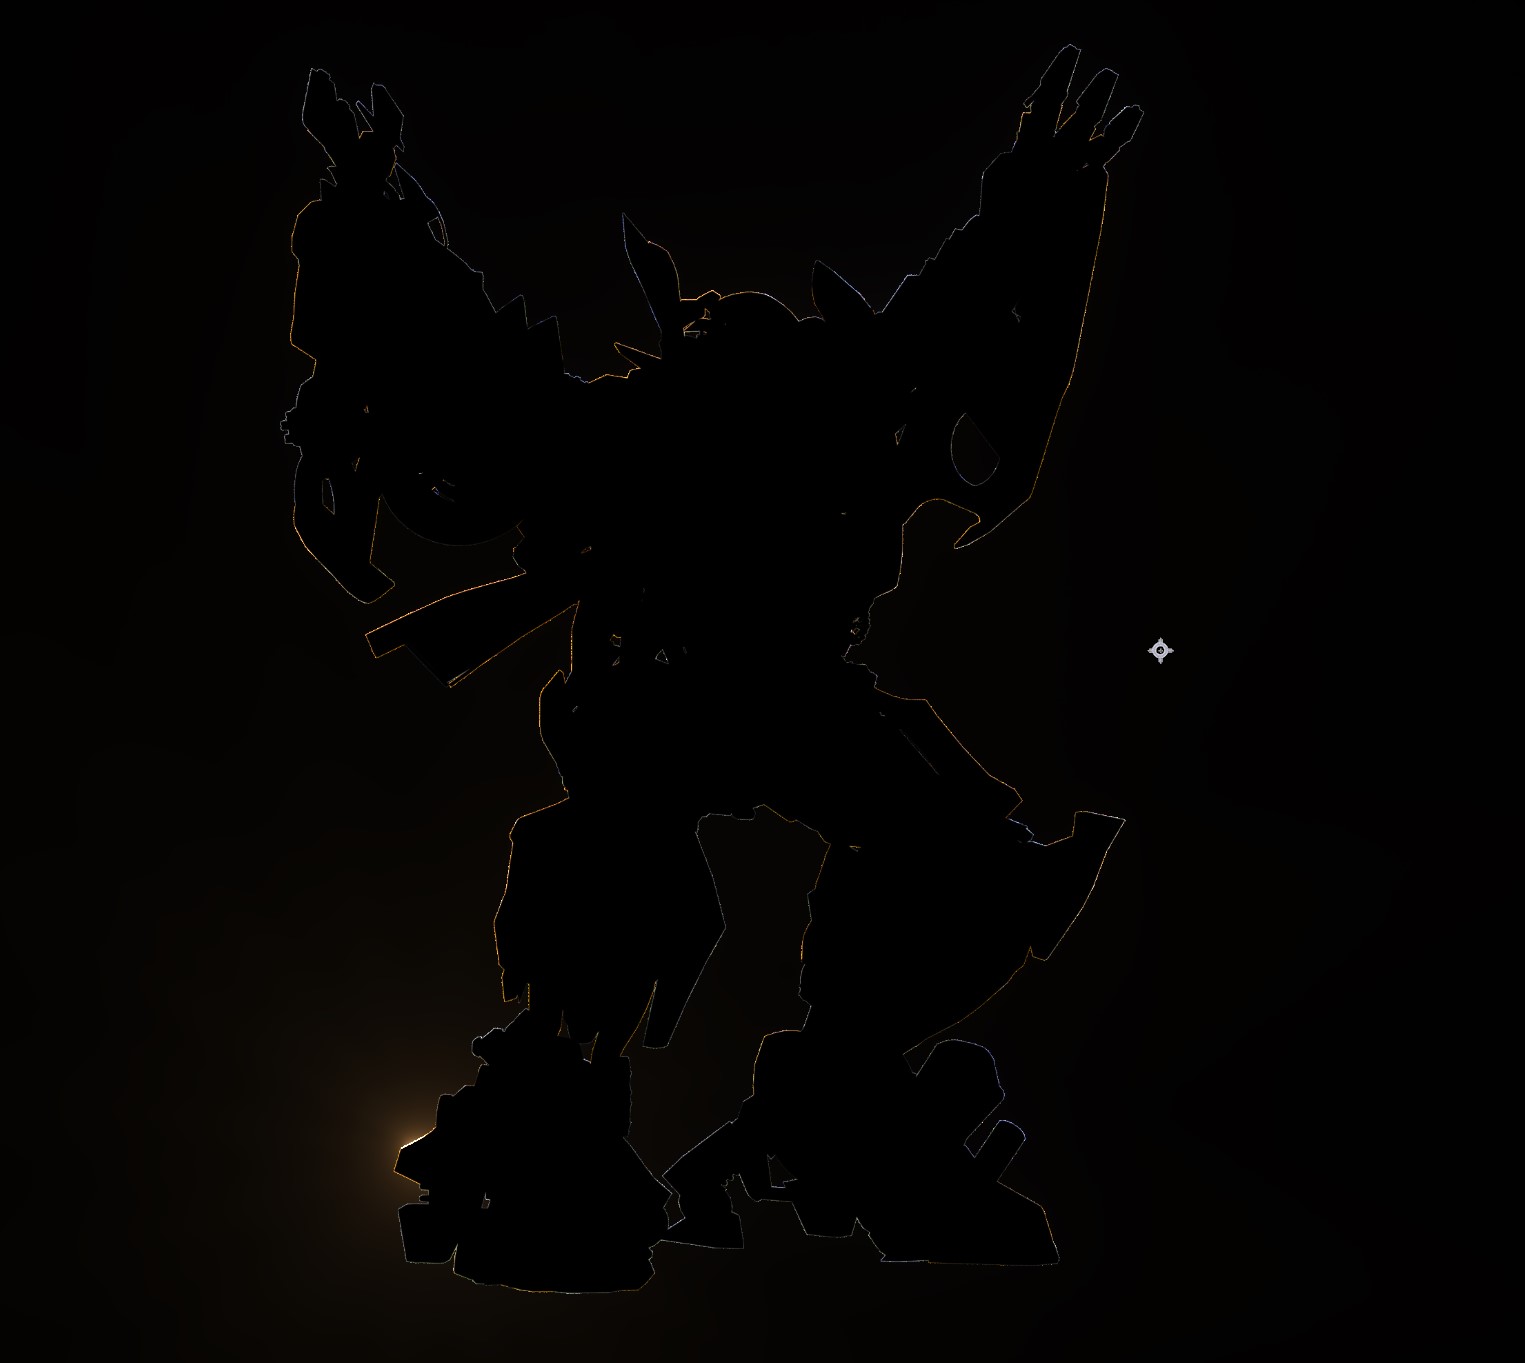
I can add a matte choker to the 2nd glare layer, but this ends up producing a small dark gap between the spillover glare and the glare on the robot.
Any way to fix this?